Showing posts with label lesson. Show all posts

Friday, May 1, 2009

Two "Getting Ready" Texture Mods

Disclaimer:  I did not take these pictures!  They are here for a "makeover". Go here to find out the whole story.

I have been playing around with texture in photoshop for quite some time now and marveling at its power.  Take a look at Jesh de Rox on my sidebar if you like these kinds of texture overlays - he is the one that got me started on it!  The right texture or overlapping textures can add, enhance or subdue an emotion in a photograph. Plus, it helps when you have pictures with glaring fluorescent light overhead, enhancing...foreheads. Ouch.  So, here's what I did to help out two quintessential getting ready shots - one for Casey and one for Paige.

Original Image:
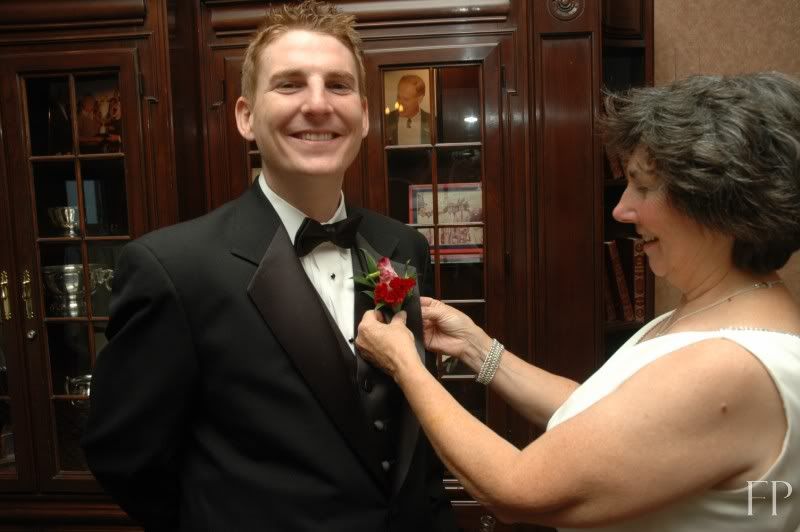
Casey: Mom pinning on boutonniere. 
Photobucket

Problem: Casey is so tall that the light is right in his face. Poor guy! 
He is so happy, just beaming, so this picture is definitely a keeper....now what to do.....

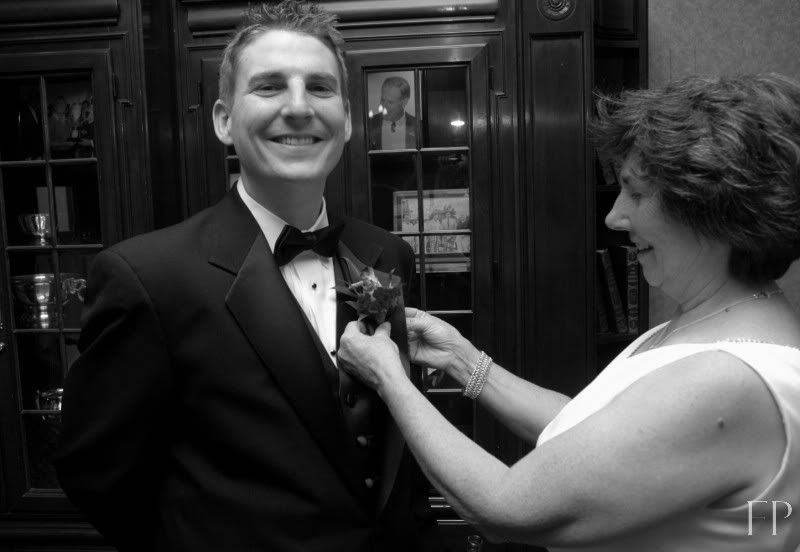
I tried to crop it a teeny bit and then convert to black and white - sometimes that's all you have to do.
Photobucket

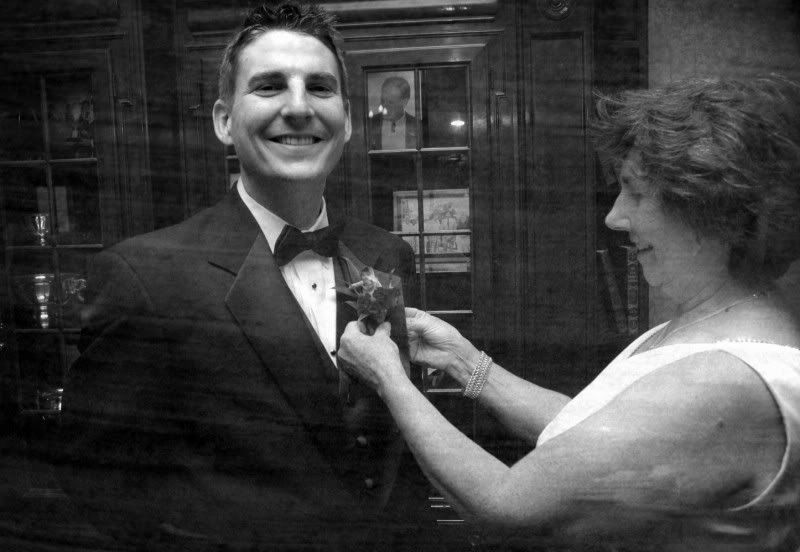
Still glaring, I went for the risk and added some serious texture here - and I really do love the outcome! **Texture is not for everyone, and I admit it had to grow on me at first...but once it clicked, now I am hooked!** There are two layers here, both adding motion and a bit of color to the black and white.

Final image:
Photobucket
It's ironic, because looking at it closer, this texture actually makes his forehead more bright and glaring, but I think since the it adds so much emotion to the picture, his beaming smile is more obvious now and the forehead is less of a distraction to the picture as a whole.  Hmm.


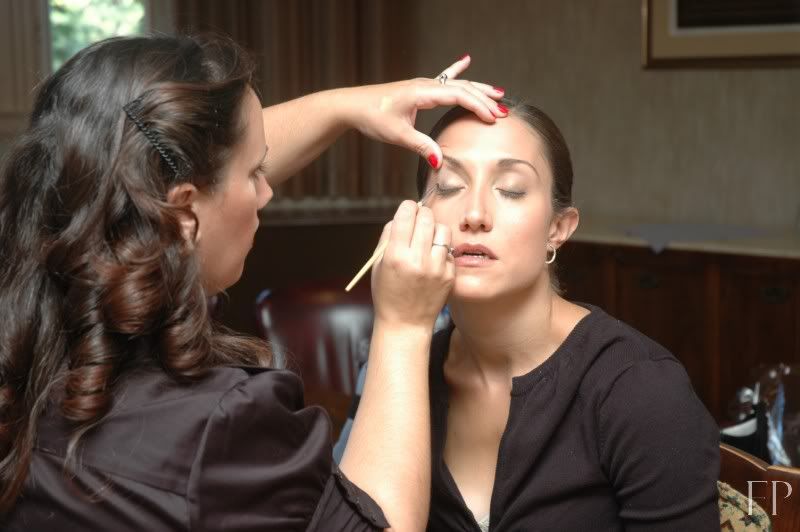
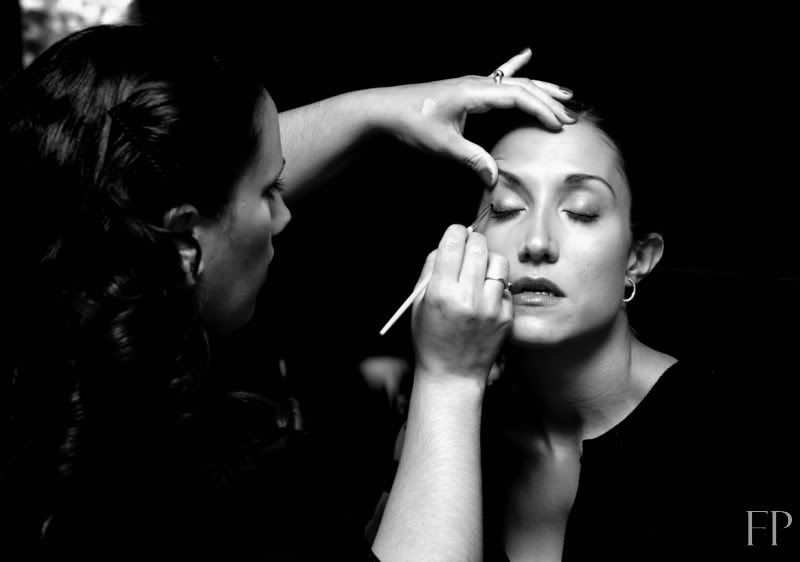
Paige: Makeup time - an iconic moment!  Again, the light is just so harsh, it's unflattering to her.  Clutter in background is distracting. Though, a keeper since it could be great without the light and there is no other to take it's place.

Original Image:
Photobucket

Again, a closer crop and a black and white.  This one looked much more dramatic for the moment with this change alone.  Reminds me of a Vegas showgirl getting ready for her performance! 
Photobucket

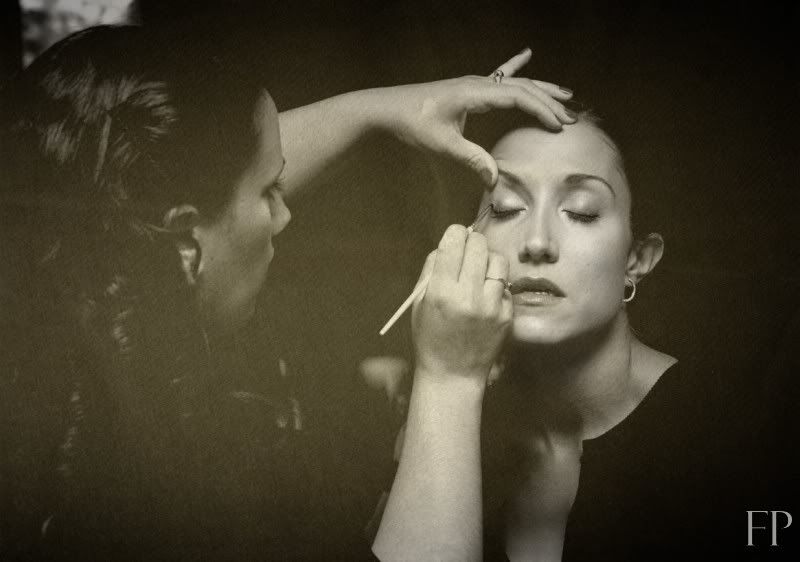
But I think the brightness of her face still needed a little subduing.  So, I added a paper texture behind this one.  Love the burnout look it ended up creating...

Final image:
Photobucket

So? What do you think? I would appreciate your comments here - I am taking some creative risks and would love to know your honest opinion - good or bad - be brutally honest! What do YOU think of the modifications?

More tomorrow....storyboards galore!

The Bride

Disclaimer:  I did not take these pictures!  They are here for a "makeover".  Go here to find out the whole story.

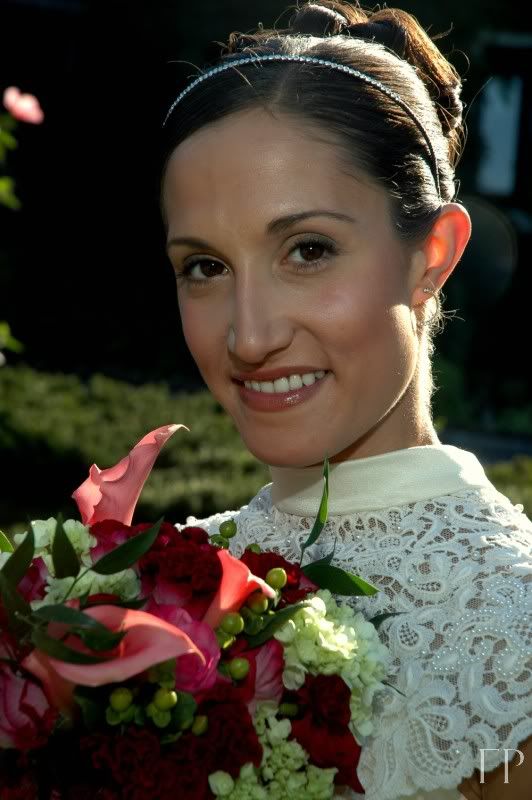
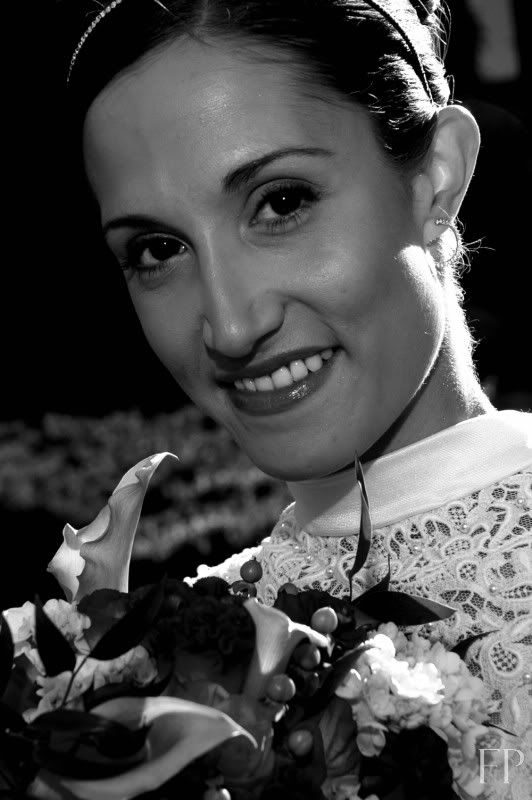
Ok, everyone - meet Paige!  Paige was a beautiful bride and her flowers, just stunning. I just wanted to introduce her to you guys! This picture is a simple mod...it was actually not bad at all to start. I could have kept it the same, but I wanted to see if I could make it a bit better/different. I liked the composition of the close-up with the flowers near her face, but I wanted more! Here are the simple little things I did to this one to change it up a bit. Not too much on this first post!  No Photoshop needed, just plain old Picasa here.

Original:
Photobucket

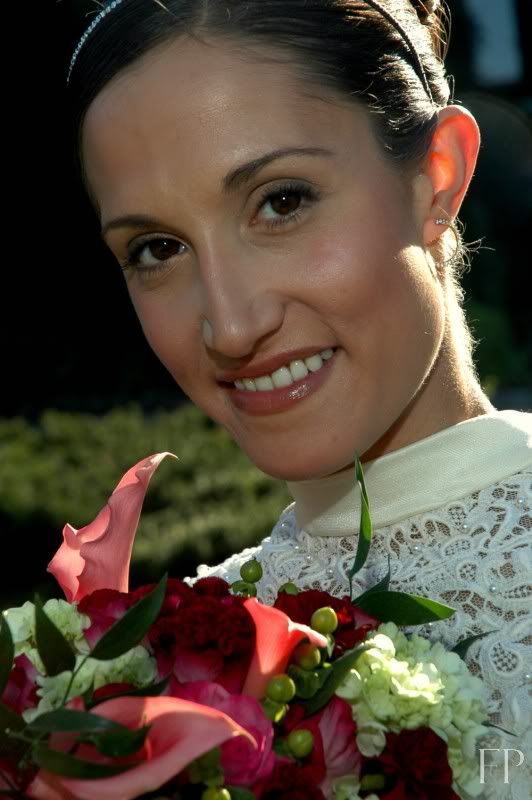
I tipped it a bit, zooming in in the process and amped up the color a bit:
Photobucket

Then, I changed it over to black and white - she's so beautiful!
Photobucket

Simple, but it puts a bit more fun attitude in the pic, right?  The last one looks like she should be in a magazine! Love it.  ;)

Makeover....Paige

Ok, new project!

I entitled this new series of posts "Makeover", because "Redux" is just too corny.  ;)  Anyway, I was approached by Paige through my little sis to take a look at her wedding pictures and try to "spruce them up" - kind of make a few more romantic or special, make something cool out of them.  Some people (like myself) just expected way more out of their wedding pictures and were sadly disappointed to not get a chance to rephotograph that one special day in their lives. Good pictures are okay...but exceptional pictures...ahhhh - don't we all wish we had that?

So, this is where I come in!

I needed (still need) practice in photoshop and trying to makeover some wedding pictures is the perfect way for me to get that much needed training time in.  I adore wedding pictures - if I were braver, I just might attempt to shoot a wedding someday, but the pressure is simply ridiculous.  I give wedding photogs a TON of credit, since it really is a one-shot deal.  It's hard to be artistic when the pressure to capture every iconic moment is weighing you down and keeping you frantic all day!  I would absolutely melt.  ;)  

So, this project is perfect for me, since I love all things wedding and I get a chance to put my spin and mark on pictures that were already taken...no pressure!  Yay!  Looking at and tweaking something beautiful all day long is my kind of day.  ;)

I am going through and cleaning up all of her photos (cropping, darkening, etc...), but I would like to share some of the more creative photo shop changes I made to take some disappointing pictures and try to make them into something cool. I will be posting (or trying to anyway) one or two transformations every day, so keep tuning in!

Paige, I hope you like them - I want so very much to give you this gift of better pictures - thanks for giving me the chance to delve into them - I feel like I know you and Casey so much already by getting this glimpse into your most special of days.  

Sunday, November 23, 2008

Light Show

Ok, so this was a lesson I really wanted to learn. It's called "Lens Flare." It's usually not a desired effect and most camera blogs will tell you how to avoid it. But, as much as any other "rule" of photography, it can be broken...and beautifully.

I came across this beautiful picture from Stephan Maloman and that was it... I fell in love with the lens flare effect. I asked him how he did it and, as most photographers will agree, he didn't really know how to tell me...it's just by "feel". I struggled trying to imitate it and flopped miserably.

Then, I came across Carla Ten Eyck's blog about Lens Flare, an actual tutorial! She is the best. She tried to identify a common denominator when it comes to getting lens flare (she loves it and captures it all the time!) and that was the beginning of my new obsession. I went out that day to play in the sun. I also found another tutorial on how to make the sun (or any light for that matter) look like a starburst, and I combined this effect with the lens flare. Here are my picks for the best shots I have gotten so far in the learning process.... I divided the posts into groups, since there are so many. I had so much fun with this and hope to incorporate it into future client sessions!

Friday, November 21, 2008

Phase 2 - Post Processing

Hi everyone!

I know it's been a while since I have posted any learning...B landed in the hospital for a few days and all three have been sick forever! I have a few more lesson pics I need to get up, but I really think I am ready to move on... I have learned and have been practicing the camera in manual mode, and I think I am pretty comfortable with it. I have been able to play with some very cool creative techniques as well. It's time! Cross Phase 1 off my list!

Now, on to Phase 2!! Learn everything there is to know about Photoshop and its Actions. Basically, learn how to fix, enhance, change and save photos with any kind of post processing out there. This is going to take a while...

Adding textures is my first self-imposed lesson, and as you can see by the new textural header pic, I am a work in progress. I plan to add other pics to the sides, to cover some of it up, maybe add a few paw prints, etc... so it will get better as I get better...I hope. ;) I added a mossy tree bark texture behind Cody, but I'm not sure it was the best one to pick. Oh, well. I have to start somewhere...Stay with me!

By the way, some of the phases will overlap...such as Phase 3. I will be embarking on that this week, long before Phase 2 is complete. Just FYI, in case you were wondering. ;) I have two pretty horses lined up, a grouchy, yet sweet cat with attitude, and two very rambunctious black dogs. All challenges I am hoping to overcome; black dogs are tough to capture, being so dark their features get lost easily, two active dogs is a challenge, a cat with attitude - any explanation needed?, and horses intimidate the heck outta me. I love them, I think they are the most gorgeous creatures on this Earth...but wow, they are big...and I never know what they are thinking. All very good lessons and practice sessions for me. I'm excited!

Later today, I will post some of the pics I have been promising...the Light! The Action!

Other Posts to Check Out...

Related Posts with Thumbnails